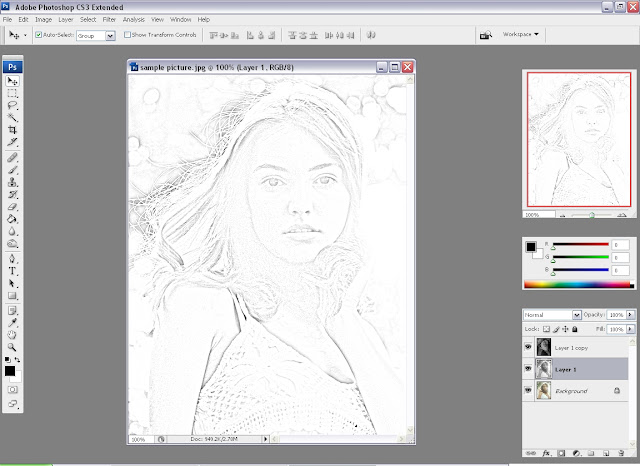
If you know how easy it is to sketch a photo in Photoshop I'm sure you'll not wast your time searching for a site to sketch your photo any more. Even some of you sure don't like to take a risk by uploading your picture to site that aren't trust worthy at all and get it sketched cause God knows what they do with your photo saved in their server. O.K. i don't like to talk too much. So lets get started.
Note:
- Click here if you need to get the image I used for this tutorial
- Click here if you need the Sketch of this image
- Click here if you like to do it with 'one-click' using the Photoshop Action file
- And please don't forget to leave a comment if you like it.
- Open the picture which you want to sketch.
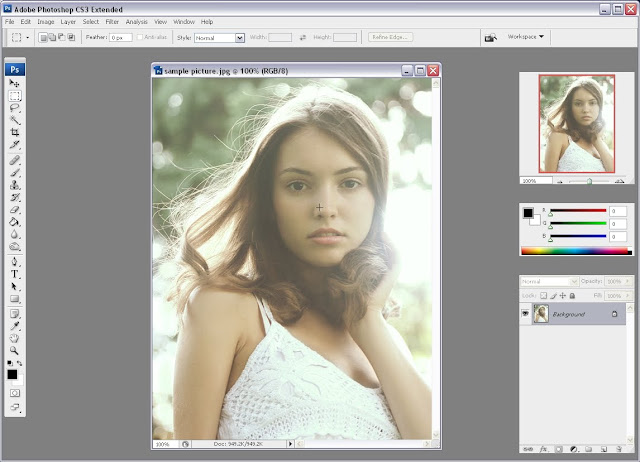
Step 2
- Right-click the Background Layer and select 'Duplicate' (Ctrl+J)

Step 3
- Desaturate the layer (Shift + Ctrl + U)
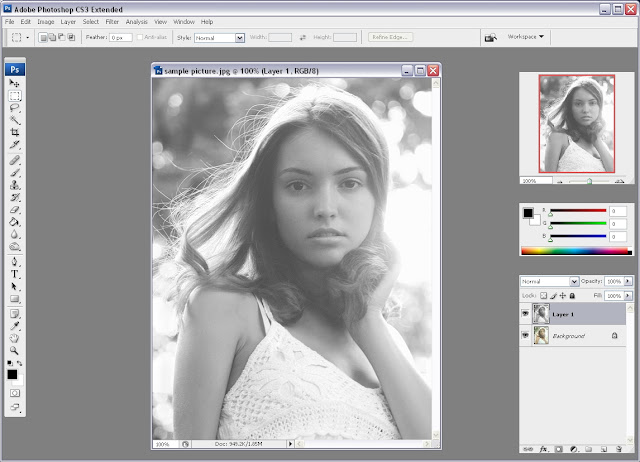
Step 4
- Duplicate Layer 1 (Select Layer 1 > Ctrl + J)

Step 5
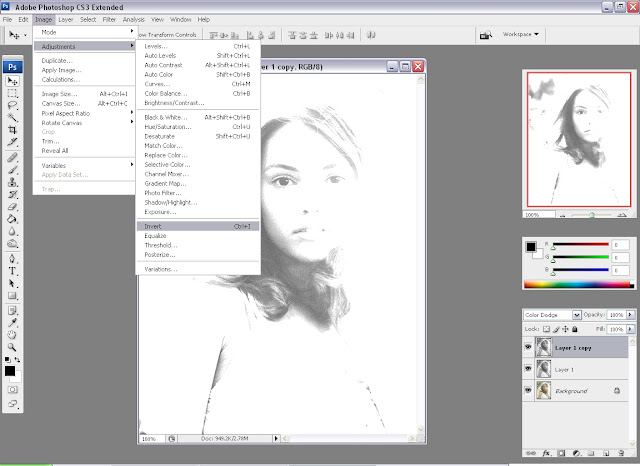
- Select Layer 1 copy > Under the blending mode select Color Dodge as shown bellow
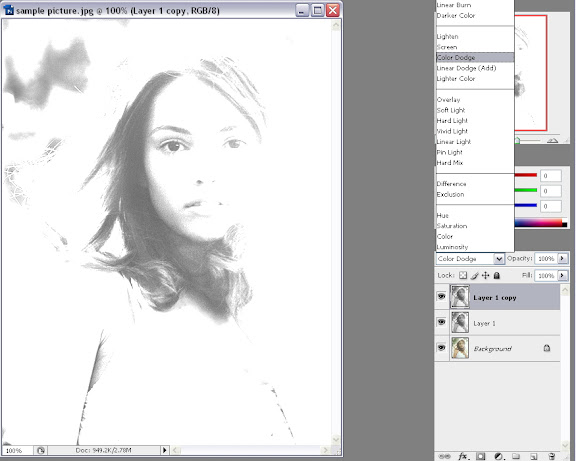
Step 6
Invert the Layer 1 copy (Crtl+I)
- Select the layer > on the menu bar select; Image> Adjustments > Click Invert
Step 7
- Select the top layer(Layer 1 copy) in the menu bar select; Filter > Blur > Gaussian Blur...
- Selected a radius at about 3, 4 pixels & click OK

Step 8
- If your happy with the result go ahead and save it. If you want you can do another small adjustment to make it look better.
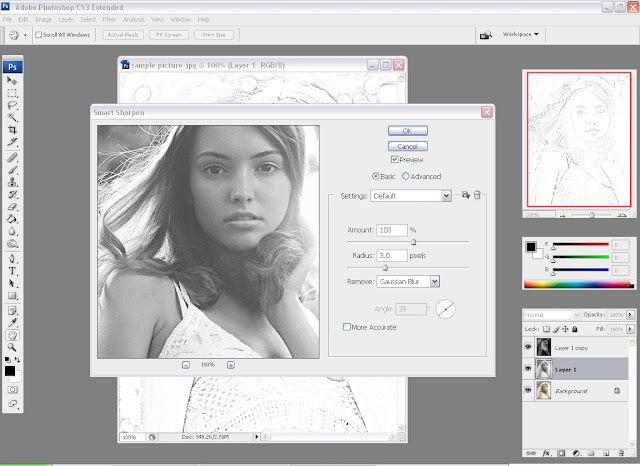
- Select the second layer(Layer 1) in the menu bar select; Filter > Sharpen > Smart Sharpen...
- Amount - 100%
- Radius - 3 pixels
Step 9
- Your done. Here's the result...
